Essential Tips for Successful Block Paving Installation
- Ethan Low

- Sep 2, 2025
- 4 min read
Updated: Sep 3, 2025
Block paving is a popular choice for driveways, patios, and walkways. It offers a durable and attractive surface that can enhance the look of any property. However, successful installation requires careful planning and execution. In this post, we will explore essential tips to ensure your block paving project goes smoothly.
Understanding Block Paving
Before diving into the installation process, it is important to understand what block paving is. Block paving consists of individual blocks made from concrete, clay, or natural stone. These blocks are laid in a specific pattern to create a strong and visually appealing surface.
Choosing the right type of block is crucial. Concrete blocks are often the most affordable option, while clay blocks offer a more traditional look. Natural stone blocks can provide a unique and luxurious finish but may come at a higher cost.
Planning Your Project
Proper planning is key to a successful block paving installation. Start by assessing the area where you want to install the paving. Consider the following factors:
Size and Shape: Measure the area accurately. This will help you determine how many blocks you need.
Drainage: Ensure that the area has proper drainage. Water pooling can damage the paving over time.
Access: Consider how you will access the area during installation. Make sure there is enough space for tools and materials.
Once you have a clear plan, you can move on to the next steps.
Preparing the Ground
Preparation is one of the most important steps in block paving installation. Follow these steps to prepare the ground:
Clear the Area: Remove any grass, plants, or debris from the site.
Excavate: Dig down to a depth of about 150mm (6 inches). This will allow for a solid base.
Compact the Soil: Use a plate compactor to compact the soil. This will help prevent settling later on.
Add a Sub-base: Lay a sub-base of crushed stone or gravel. This should be about 100mm (4 inches) thick. Compact it well.
Laying the Blocks
Now that the ground is prepared, it is time to lay the blocks. Here are some tips for this stage:
Start at a Corner: Begin laying blocks from one corner of the area. This will help you maintain a straight line.
Use a String Line: Stretch a string line between two stakes to guide your placement. This will help keep the blocks aligned.
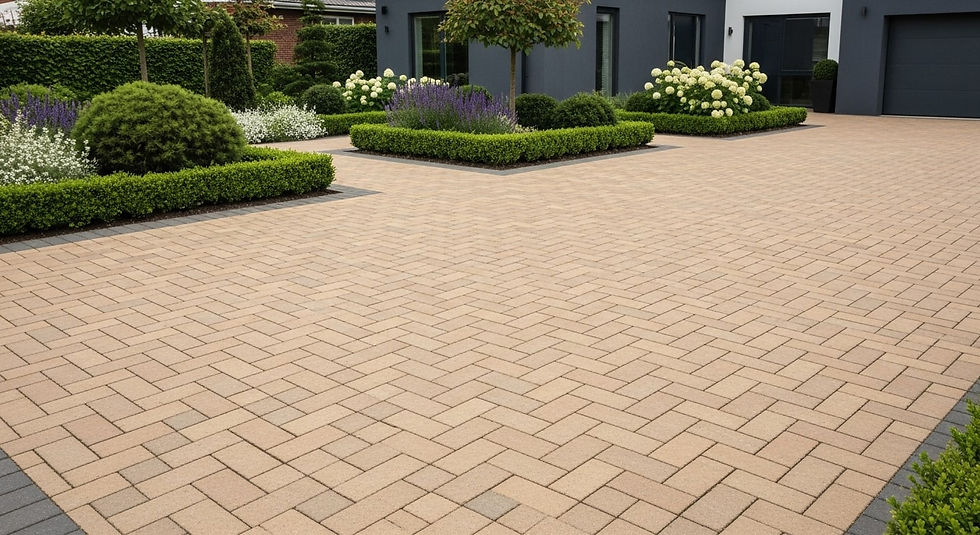
Lay in a Pattern: Choose a pattern that suits your style. Common patterns include herringbone, basketweave, and stretcher bond.
Cut Blocks as Needed: You may need to cut some blocks to fit around edges or obstacles. Use a block splitter or a saw for this task.
Jointing and Compaction
Once all the blocks are laid, it is time to fill the joints and compact the surface. Follow these steps:
Fill the Joints: Use kiln-dried sand to fill the joints between the blocks. Sweep the sand into the gaps.
Compact the Surface: Use a plate compactor to compact the blocks. This will help settle the sand and ensure a tight fit.
Add More Sand: After compacting, you may need to add more sand to the joints. Repeat the process until the joints are filled.
Sealing the Paving
Sealing your block paving can enhance its appearance and protect it from stains and weather damage. Here are some tips for sealing:
Choose the Right Sealant: Look for a sealant that is suitable for your type of block. Some sealants enhance color, while others provide a matte finish.
Apply Evenly: Use a roller or sprayer to apply the sealant evenly across the surface.
Follow Instructions: Always follow the manufacturer's instructions for application and drying times.
Maintenance Tips
To keep your block paving maintenance is essential. Here are some tips:
Clean Regularly: Sweep the surface to remove debris. Use a pressure washer for deeper cleaning.
Check for Weeds: Inspect the joints for weeds and remove them promptly.
Reapply Sealant: Depending on the sealant used, you may need to reapply it every few years.
Common Mistakes to Avoid
Even with careful planning, mistakes can happen. Here are some common pitfalls to avoid:
Skipping Preparation: Failing to prepare the ground properly can lead to uneven surfaces and settling.
Ignoring Drainage: Poor drainage can cause water damage and reduce the lifespan of your paving.
Rushing the Process: Take your time during installation. Rushing can lead to mistakes that are costly to fix.
Final Thoughts
Installing block paving can be a rewarding project that adds value to your property. By following these essential tips, you can ensure a successful installation that will last for years to come.
Whether you are a DIY enthusiast or hiring a professional, careful planning and execution are key. Remember to take your time, pay attention to detail, and enjoy the process. Your new block paving will not only enhance your outdoor space but also provide a durable surface for years of enjoyment.

With these tips in mind, you are well on your way to a successful block paving installation. Happy paving!


Comments